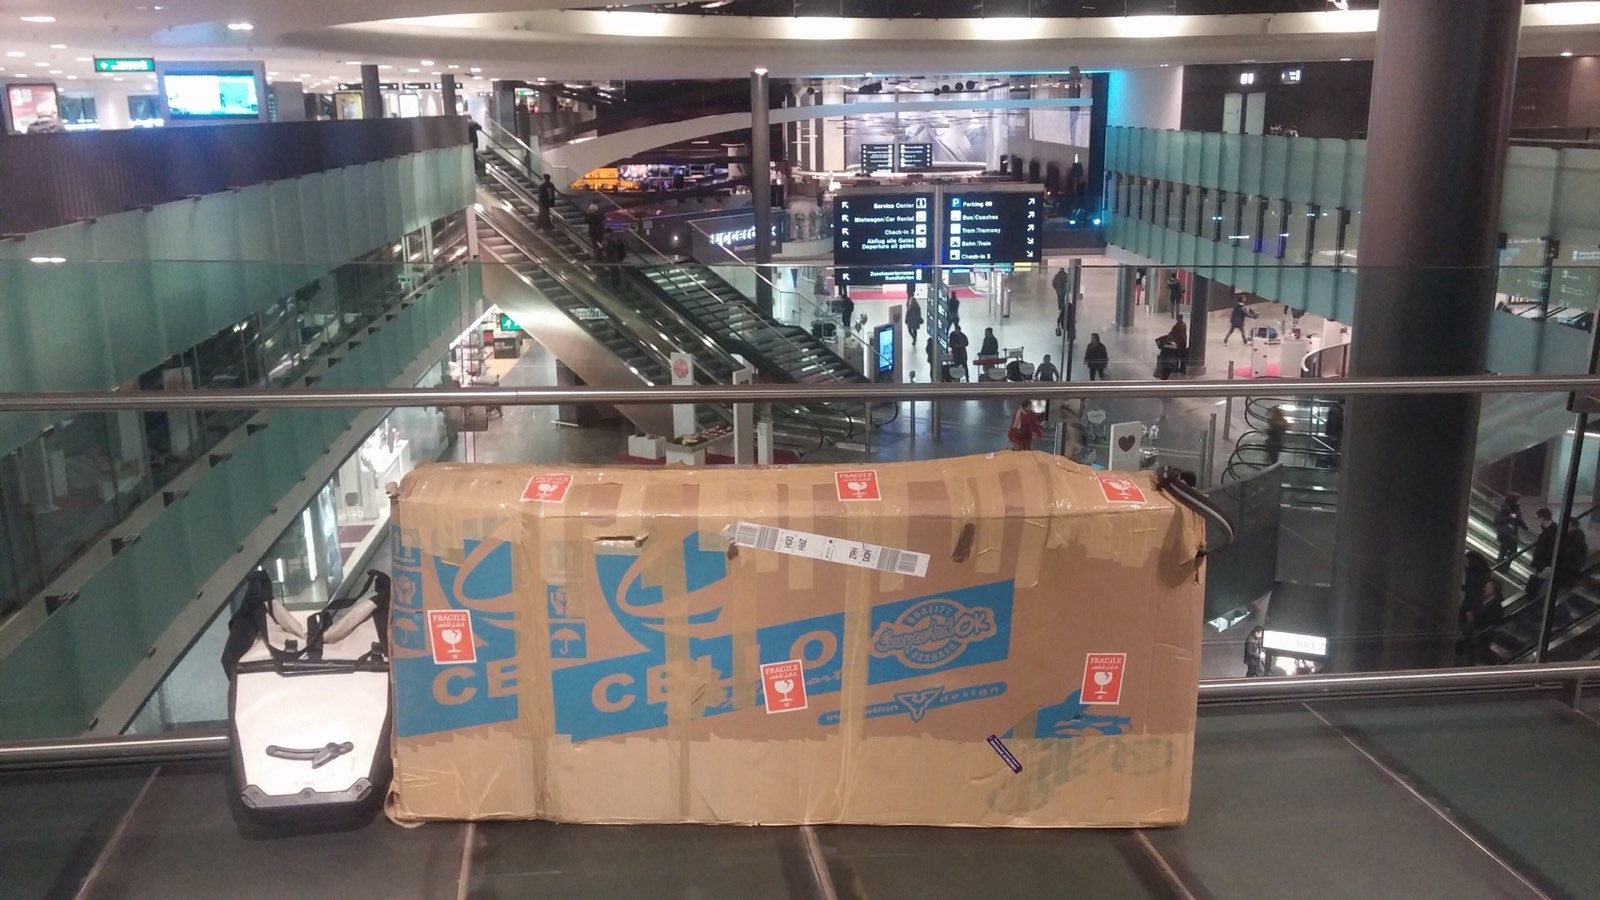
Packing equipment
Protect the frame and control the rebuild.
No case removes the need for component-specific instructions, spacing, padding and a practised packing sequence.
Scicon Aerocomfort 3.0 Road ↗
Compare when keeping the handlebar and seatpost in place matters more than having the smallest possible case. Confirm frame, wheel and airline compatibility.
Check the Scicon caseEVOC Road Bike Bag Pro ↗
A second low-disassembly format with a rigid support structure. Compare packed dimensions across the flight, vehicle and hotel chain.
Check the EVOC road bagTopeak Nano TorqBar X ↗
A compact 2–6 Nm tool for compatible cockpit and control fasteners. It does not replace component-specific torque instructions.
Check the TorqBar XProvider pages checked 16 September 2026. Confirm the exact current service, specification, price and terms before paying.
Detailed planningRead the full guide+
Carbon bikes require the same principle as any bike in transit: prevent impact, prevent unwanted movement and follow the exact manufacturer and case instructions for disassembly and reassembly. The material is not a reason to improvise extra clamping or supports.
STEP 1 — DOCUMENT THE BIKE
Photograph the frame, fork, cockpit, wheels and drivetrain before packing. Record saddle position and any component that will be moved. These photos create a reference for reassembly and for identifying new damage after the flight.
STEP 2 — FOLLOW THE CASE AND BIKE INSTRUCTIONS
Different cases require different levels of disassembly. Remove only what the correct instructions call for, and use the correct tools and torque procedures when reinstalling components.
STEP 3 — ELIMINATE MOVEMENT
The goal is not maximum padding everywhere. It is controlled separation. Frame tubes, wheels, handlebars and loose components should not be able to strike one another during handling.
STEP 4 — PROTECT VULNERABLE AREAS
Pay particular attention to parts that can be damaged by direct impact or movement: exposed drivetrain components, brake rotors, levers, fork ends, dropouts and any removed component stored near the frame.
STEP 5 — HANDLE SMALL HARDWARE METHODICALLY
Bolts, spacers, pedals and adapters should be contained and labelled. A missing spacer at the destination can be more disruptive than a cosmetic mark.
STEP 6 — THINK ABOUT THE WHEELS
Use the case’s intended wheel compartments or separators. Protect rotors where applicable and ensure hubs or cassette bodies cannot contact the frame.
STEP 7 — PACK THE REASSEMBLY KIT SEPARATELY
Keep the exact tools required for the work you performed together in one pouch. Do not add workshop items blindly; airline/security restrictions still apply.
STEP 8 — CLOSE WITHOUT FORCE
If the case only closes when compressed aggressively, something is wrong. Reposition the contents rather than using the latches to force components into place.
STEP 9 — WEIGH THE COMPLETE CASE
Carbon frames may be light, but cases, wheels, tools and protection can still push the package over the airline limit. Weigh the final closed case.
STEP 10 — ARRIVAL CHECK
Photograph the case before opening if it appears damaged. Compare the bike with the pre-flight photos, reassemble according to specifications and complete the Pedal Elsewhere Post-Flight Bike Check before a meaningful ride.
COMMON MISTAKES
• Assuming more padding always equals more protection.
• Letting loose metal components move inside the case.
• Guessing torque on carbon components.
• Packing tools or consumables without checking air-travel rules.
• Scheduling a major ride immediately after landing.
SAFETY BOUNDARY
This is a travel-planning framework, not a mechanical procedure or a damage assessment. Follow the exact bicycle, component and case instructions. If disassembly, torque, compatibility or possible impact damage is uncertain, stop and use a qualified bicycle mechanic.
Check before you ride
Current official sources
Conditions and access can change. Use these live sources when turning the framework into an actual ride plan.
Find the exact component manual rather than borrowing a torque or installation method from a different bicycle.
↗SRAM · Product-specific service resourcesUse the exact product documentation and a qualified mechanic whenever the correct procedure or compatibility is uncertain.
↗