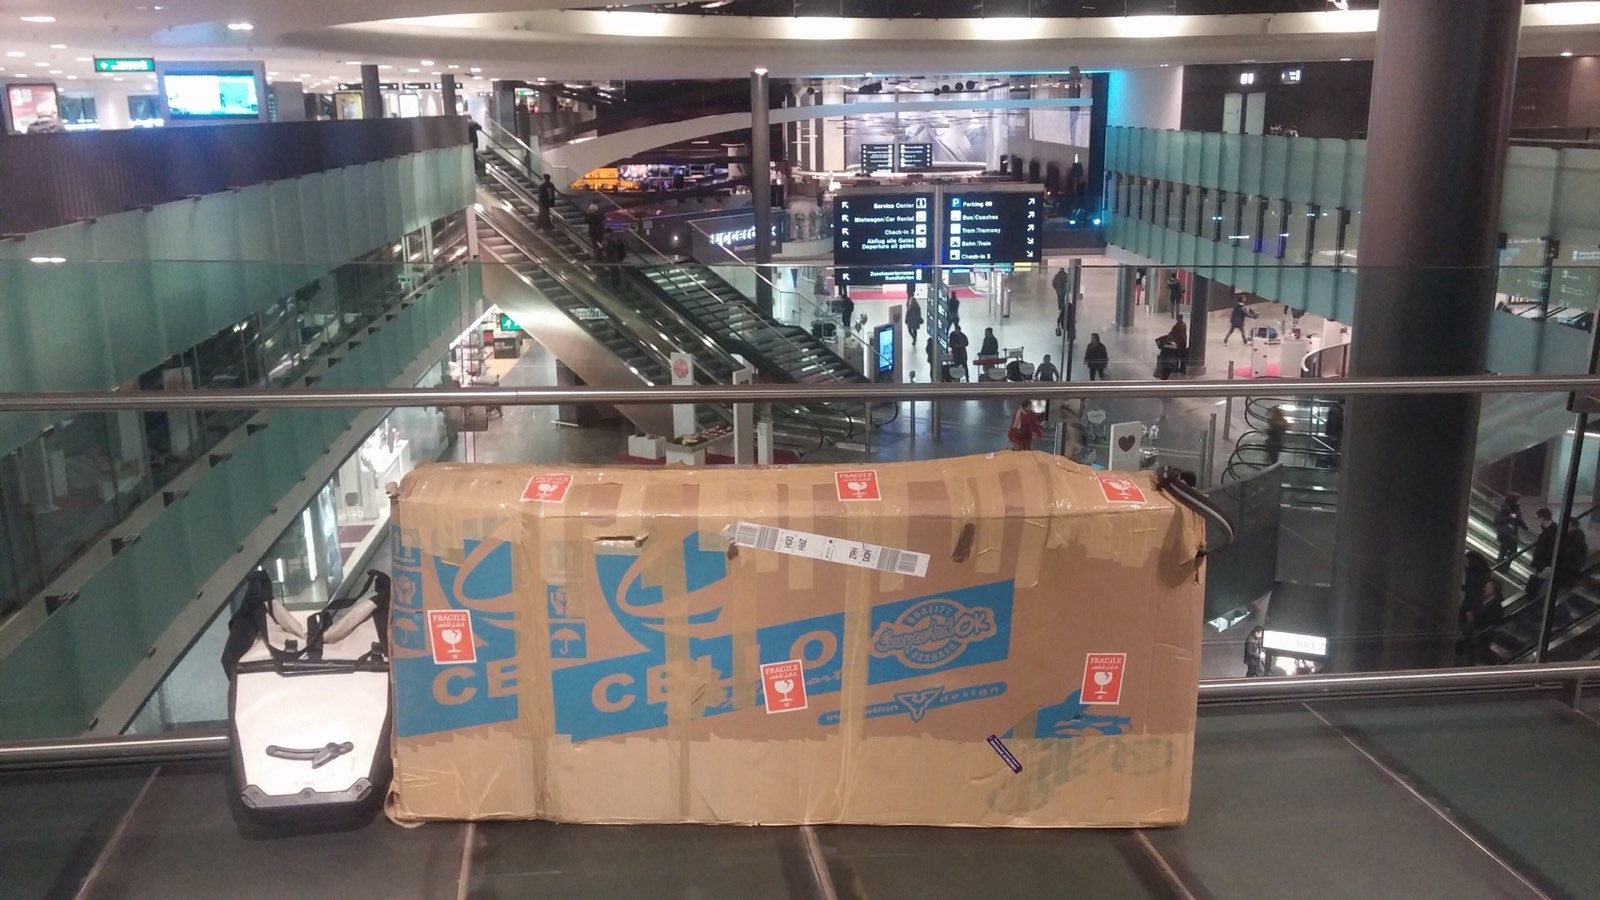
Arrival sequence
Slow down before the first ride
Document
Record the case and bike before reassembly.
Rebuild
Follow the case and component instructions.
Inspect
Work through frame, wheels, cockpit and drivetrain.
Brake check
Confirm operation before the bike moves.
Shakedown
Use a short, low-risk ride only when appropriate.
Escalate
Stop and seek qualified help when anything is uncertain.
Rebuild essentials
Check, torque and inflate before the first ride.
A short controlled ride after these checks is still part of the system.
Topeak Nano TorqBar X ↗
Use only on compatible fasteners and follow the component maker’s torque value; practise the exact reassembly at home.
Check the TorqBar XLezyne Pocket Drive Pro ↗
A compact pump avoids relying solely on cartridges that may be restricted in air travel or exhausted after one repair.
Check the Pocket Drive ProPark Tool MLP-1.2 ↗
Relevant when the packing method removes a compatible master-link chain. Confirm compatibility and carry the correct spare link.
Check the master-link pliersProvider pages checked 16 September 2026. Confirm the exact current service, specification, price and terms before paying.
Detailed planningRead the full guide+
IMPORTANT
This is a screening routine, not a declaration that a bicycle is safe to ride. Follow the applicable bicycle/component instructions. If you find damage, cannot complete reassembly correctly or have uncertainty about a safety-critical system, stop and use a qualified bicycle mechanic.
1. INSPECT THE CASE BEFORE OPENING
As soon as practical, look for new cracks, crushed areas, punctures, broken latches, missing hardware or other obvious damage. Photograph anything unusual before opening where possible.
If the case appears materially damaged, preserve evidence and follow the operating carrier’s current baggage-damage process promptly. Reporting procedures and deadlines can vary.
2. OPEN AND DOCUMENT
Work in a well-lit space with enough room. Photograph how the bicycle and components arrived before fully unpacking. Compare with pre-flight photographs and look for shifted components, loose hardware, damaged protection, impact marks, leaks or other material changes.
No visible damage is not proof that the bicycle is safe.
3. REASSEMBLE TO THE CORRECT SPECIFICATION
Reverse the travel disassembly using the applicable manufacturer procedures, fasteners, sequence and torque values. Do not guess torque or assume a previous bolt position substitutes for the specification.
If an integrated cockpit, hydraulic system, carbon component, electronic system or other specialist part creates uncertainty, use qualified help rather than improvising.
4. WHEELS AND TYRES
Confirm wheels are installed and secured correctly for the bike’s system. Inspect rims, tyres and visible spokes for damage or abnormality. With the bike supported safely, spin the wheels and investigate significant movement, rubbing, interference or unusual noise before riding.
Inflate tyres within the applicable tyre/rim limits and for the intended conditions.
5. BRAKES
Brake function is safety-critical. Confirm the controls actuate normally and the system is correctly assembled. Look for abnormal lever feel, obvious rotor/rim interference, leaks, visible damage or other irregularities.
Do not use a ride as the diagnostic test for a suspected brake problem.
6. STEERING AND COCKPIT
Confirm handlebars and controls are correctly positioned and secured. With the bike stationary, check for obvious looseness, binding or unexpected movement. A cockpit that shifted during travel deserves particular attention.
7. DRIVETRAIN
Inspect the rear derailleur and surrounding area for impact or alignment that appears materially different from before travel. With the bicycle safely supported, operate the drivetrain without forcing shifts and listen/look for abnormal contact. Confirm electronic systems operate normally where applicable.
8. FRAME AND FORK SCREEN
Compare the frame and fork with pre-travel photographs. Look for new cracks, dents, deformation, unusual paint disturbance or other impact signs.
Visual inspection has limits, especially with composite structures. Significant case damage, impact evidence or unresolved concern warrants professional assessment rather than reassurance from appearance alone.
9. CONTACT POINTS AND ACCESSORIES
Check saddle/seatpost position, pedals, bottle cages, computers, lights, bags and other items that were removed or could have shifted. A loose accessory may not be as critical as a brake issue, but it can still create a hazard or ruin the ride.
10. DECIDE WHETHER TO RIDE
Only after stationary checks are satisfactory should you consider a short, low-risk shakedown in an appropriate environment. The purpose is to confirm normal operation under light use, not diagnose a suspected problem at speed.
Start away from traffic, technical descents and high-speed riding. If braking, steering, shifting or anything you reinstalled feels or sounds abnormal, stop.
RED FLAGS: STOP AND GET HELP
Do not ride with unresolved concern about frame/fork integrity, wheel security, braking, steering, major impact damage, fluid leakage, damaged fasteners, incorrect assembly or another safety-critical system. Also stop if you lack the instructions, tools or confidence to complete reassembly correctly.
BUILD THE CHECK INTO THE TRIP
Do not schedule the trip’s major climb, group departure or timed transfer immediately after landing with a boxed bike. Leave enough time to unpack, inspect and solve a problem. Identify qualified local mechanical support before departure as contingency, not as an implied Pedal Elsewhere endorsement.
IF THE BIKE OR CASE IS DAMAGED
Document the condition thoroughly and preserve baggage tags and travel records. Follow the operating carrier’s current reporting process and, if relevant, the insurer’s notification/evidence requirements. Avoid irreversible repair or disposal decisions until you understand required evidence, unless an urgent safety need dictates otherwise.
ARRIVAL CHECKLIST
THE PEDAL ELSEWHERE PRINCIPLE
Arrival is not the moment to rush. Document first, assemble correctly, inspect systematically, then ride. If the bicycle gives you a reason to doubt it, treat the doubt as information.